

How to Install Roofing Underlayment?
Roofing underlayment plays a crucial role in any roofing system, providing a protective barrier against moisture, ice, and other damaging elements. To achieve a strong, durable roof, it’s important to know how to properly install roofing underlayment. Here’s a detailed guide to help you with the process.
What You’ll Need For Roofing Underlayment?
Gather the necessary tools and materials before starting.
Equipment / Tools
- Tin snips
- Hammer
- Hammer stapler
- Utility knife
- Measuring tape
- Chalkline
Materials
- Drip edge
- Waterproof shingle underlayment (WSU)
- Roofing felt (also known as “tar paper”)
- Staples or roofing nails
Step-by-Step Guide to Installing Roofing Underlayment
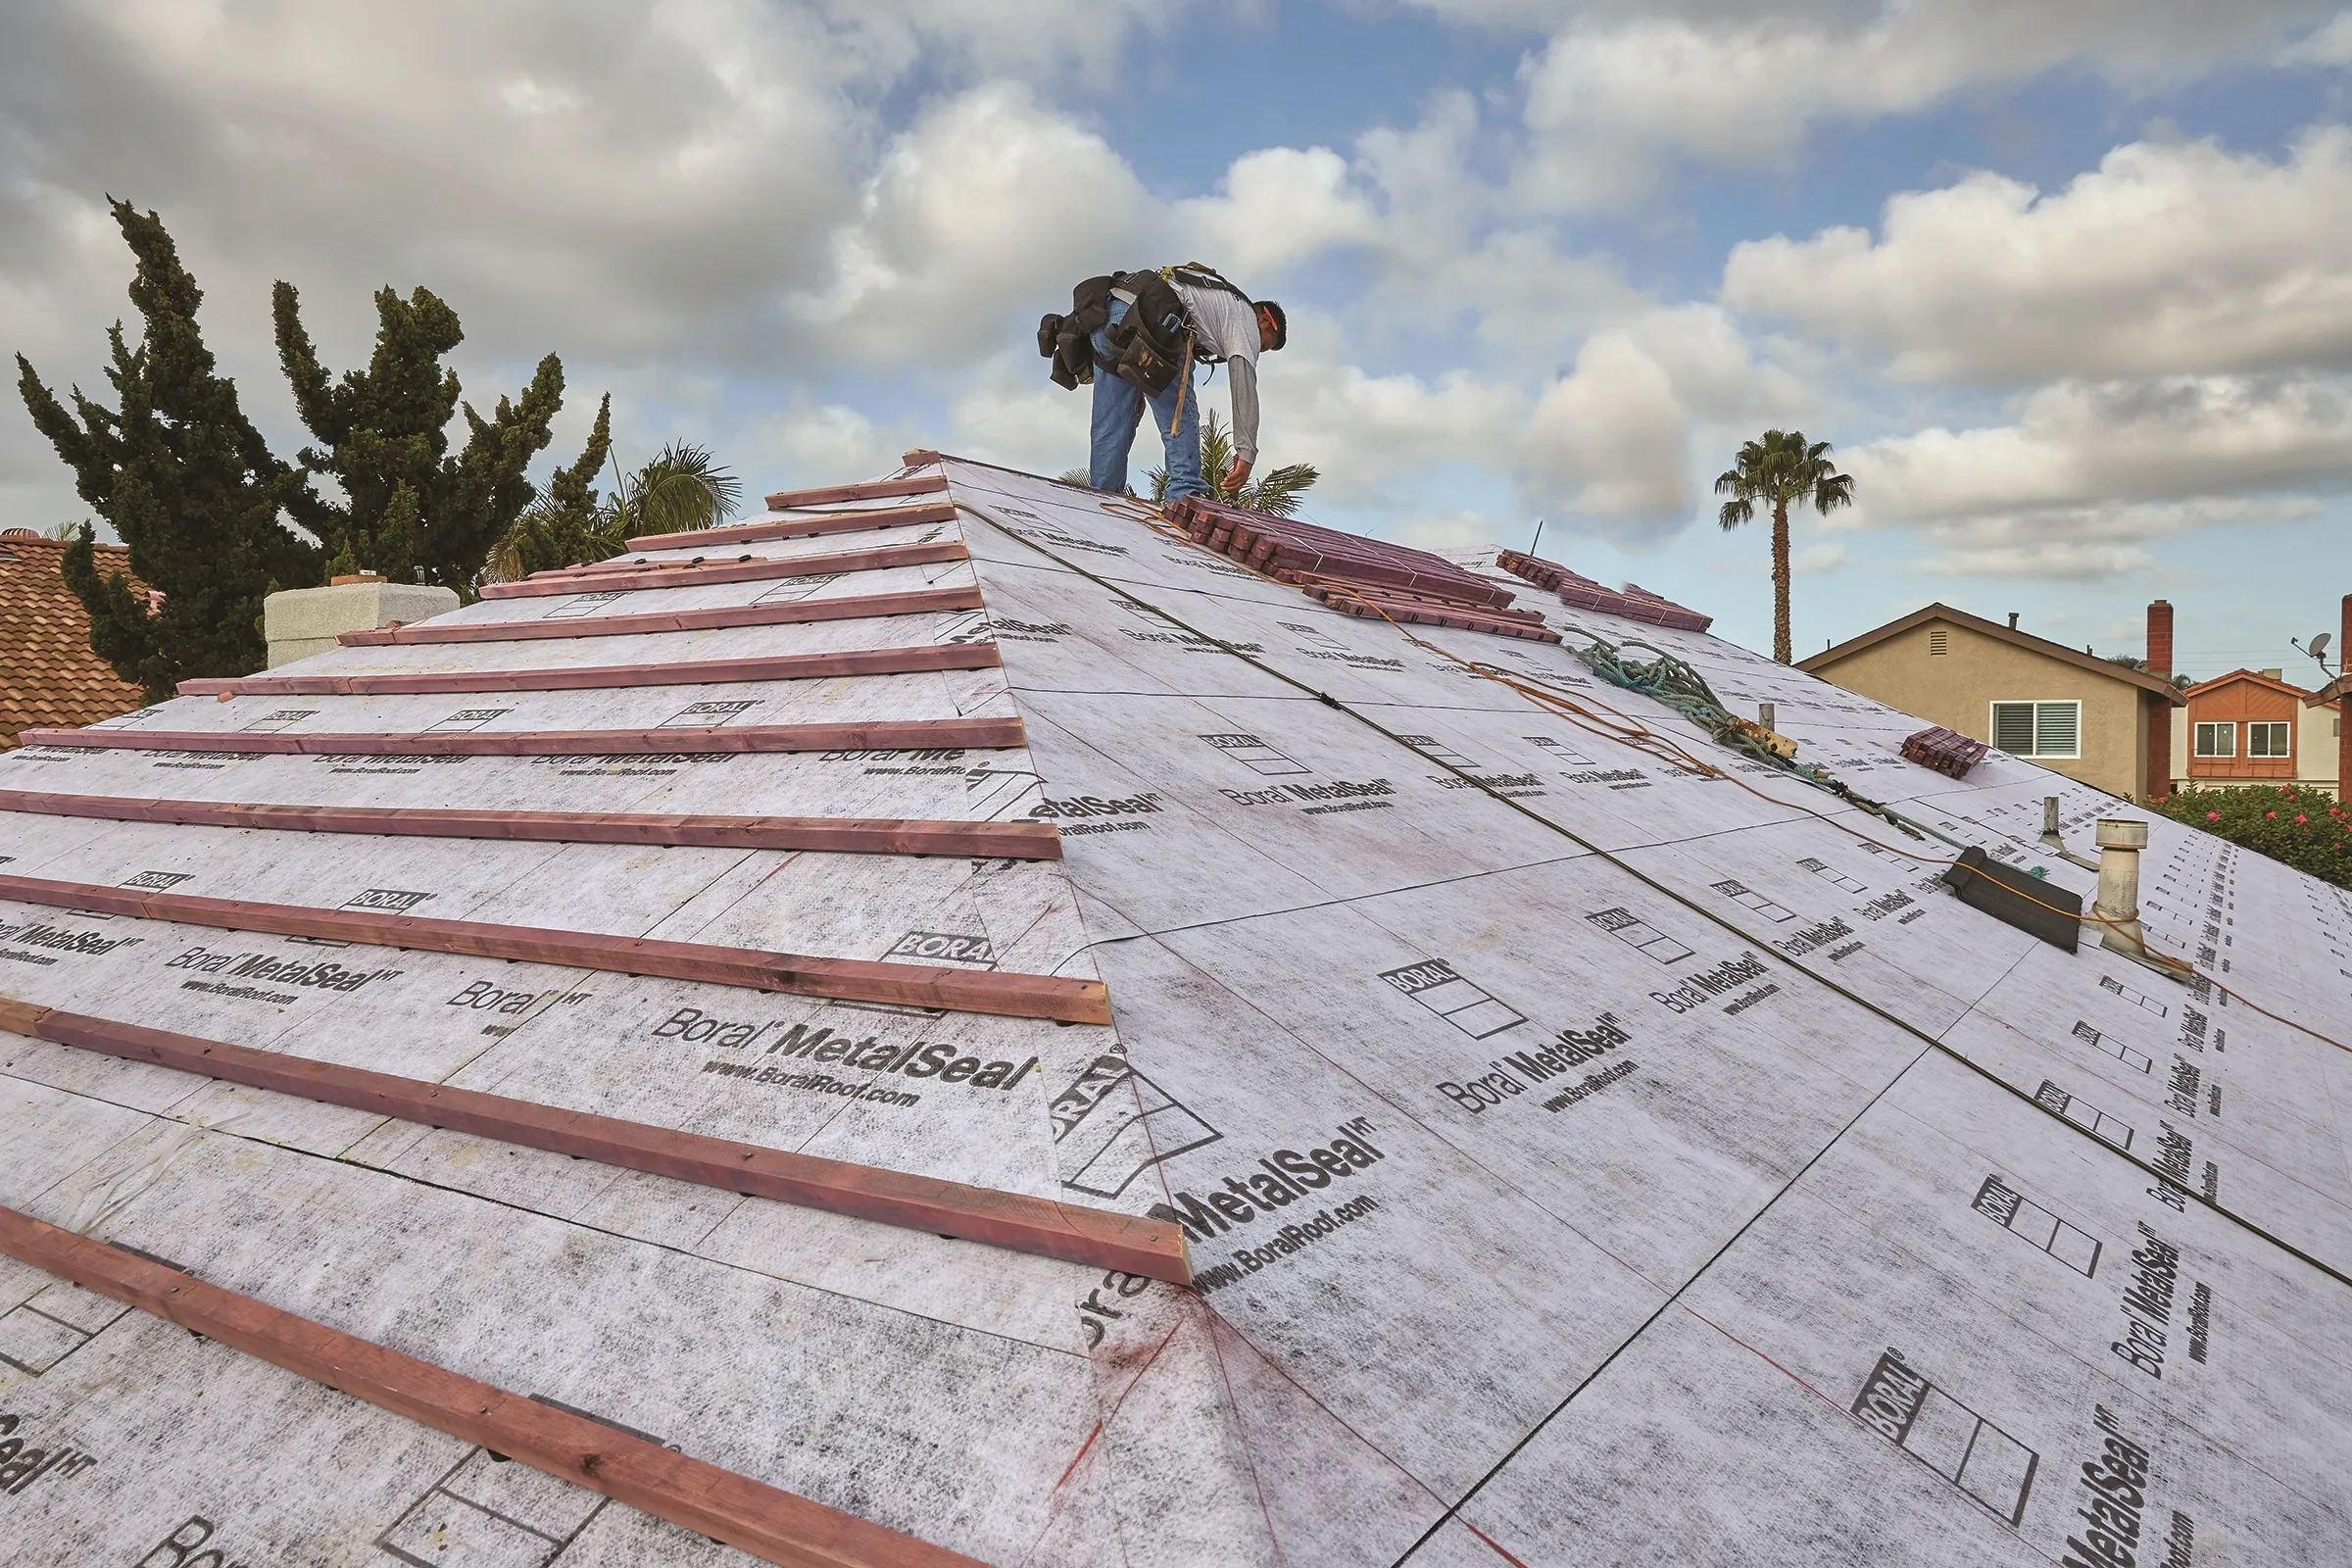
Step 1: Prepare the Roof Sheathing
Begin by clearing all debris from the roof sheathing. Remove dust, nails, or splinters, ensuring the surface is smooth for the underlayment to adhere properly.
Step 2: Apply and Attach the Drip Edge
The drip edge directs water away from the roof’s edges. Start at the eaves, cutting the flashing at an angle for corners. Secure it with roofing nails, about one foot apart, aligning with a chalkline for straight placement.
Step 3: Overlap and Cut the Drip Edges
Overlap drip edge pieces by at least two inches. In areas like valleys or hips, cut with overlapping tabs for a neat corner. Nail the overlap securely.
Editor’s Tip: When working on hips, apply felt up to the hip, fit pieces closely, and run a vertical strip along the hip to overlap each side seamlessly.
Step 4: Align the Felt with a Chalkline
Use a chalkline as a guide to place the WSU or felt, allowing it to overhang the drip edge by about half an inch. Ensure consistent overhang by checking at several points and adjusting as needed.
Step 5: Roll Out the Waterproof Shingle Underlayment (WSU)
Following the chalkline, roll out about 12 feet of WSU, ensuring it’s smooth and crease-free. On steep roofs, adhere the bottom half first, then peel the backing from above, pressing down for a tight seal.
Editor’s Tip: Many roofers prefer installing underlayment as they go, applying a course or two, then adding shingles before continuing.
Step 6: Apply WSU at the Valleys
Valleys need extra care to prevent water penetration. Use chalklines to guide, smooth the WSU, and tack it with nails on one side. Peel the backing, press firmly, and secure on the other side for a watertight seal.
Step 7: Stay Parallel with Overlapping Felt Courses
Overlap felt courses by at least four inches, using chalklines or felt markings for guidance. Periodically check alignment with the drip edge, rolling out the felt carefully to avoid creases, and secure with three staples per foot.
Step 8: Apply Felt Up to the Ridge
Continue applying felt to the ridge, overlapping by more than four inches for extra coverage. If covering the ridge, overlap each side by eight inches for thorough protection.
Step 9: Attach Felt Where the Roof Meets Walls
At wall intersections, lap the felt up by four inches if possible. Slip the felt under the siding, and temporarily remove siding if necessary to secure the felt. After installing underlayment, shingles, and flashing, replace the siding for a clean look.
Important Tips and Reminders
- Avoid Using Felt for Temporary Rain Cover: Felt can wrinkle if it gets wet, complicating the shingling process. Opt for plastic sheeting or a tarp for temporary protection.
- Correct Overlaps Are Essential: Ensure proper overlapping of the felt and drip edge to maintain a watertight roof and minimize leak risk.
- Shingle Alignment: Lay the felt straight to use its lines as guides for shingle alignment, ensuring even placement and avoiding expensive corrections.
- Fastening Methods: Staples are often easier to use and comply with most local codes. Nails or nails with plastic washers might offer a stronger hold depending on local conditions and rules.
FAQs on Roofing Underlayment Installation
A: Roofing felt, also known as tar paper, serves as a moisture barrier between the roof sheathing and shingles, offering an extra layer of protection against rain, snow, and ice.
A: WSU, or Waterproof Shingle Underlayment, is a self-adhesive underlayment with superior moisture resistance, ideal for areas prone to ice dams and heavy moisture, such as roof valleys and eaves.
A: No, felt is not suitable as a temporary rain cover. If wet, it can wrinkle, complicating shingling. Use a tarp or plastic sheeting for temporary protection.
A: Yes, a chalkline keeps felt, WSU, and shingles aligned. Proper alignment enhances the roofing system’s durability and appearance.
A: Yes, staples are generally permissible by most local codes and are easier to apply. Some prefer using nails with plastic washers for a more secure hold, especially in windy conditions.
A: Felt courses should overlap by at least four inches to ensure a waterproof seal, maintaining consistent overlap for reliable protection.
Installing roofing underlayment is crucial for protecting your roof against moisture, ice, and other elements. With the proper tools, precise alignment, and correct overlap, you can ensure your roof underlayment provides a strong foundation for shingles and offers lasting protection for your home